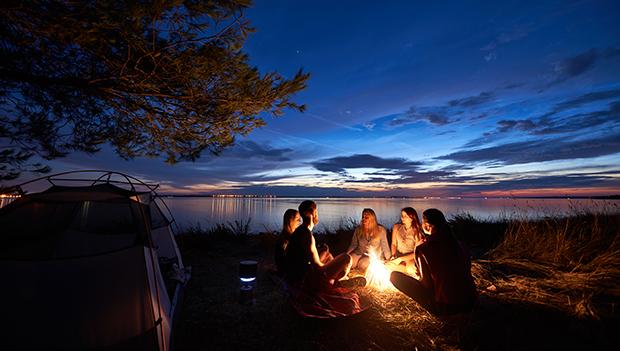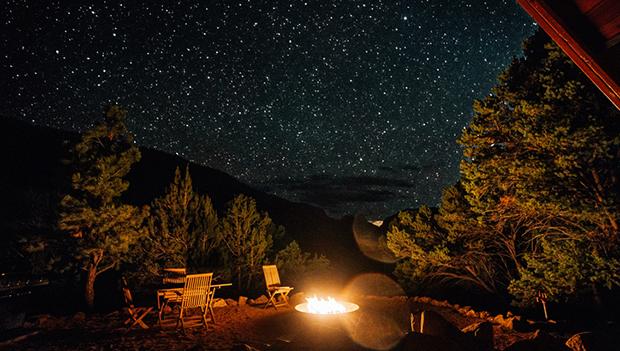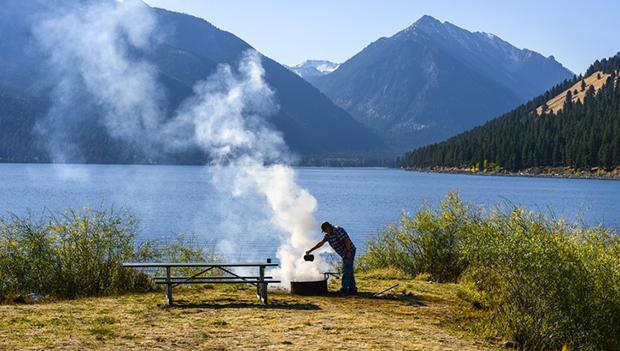
Campfires are an important and memorable part of most camping trips. When it is chilly, a campfire of course brings much-needed warmth. But a campfire also provides the atmosphere where family and friends gather to rest, chat, and reconnect. A campfire may also be where you prepare your food, roast marshmallows, or simply stare into the coals and let your mind wander.
Learn how to start a campfire for your next camping trip with these simple steps below.
Step 1: Gather Your Tools
There’s a bit more to building a great campfire than simply placing a few logs in a heap and tossing on a match. Here’s what you’ll need:
Tinder—the smallest and easiest burning materials used to get a campfire started. Tinder can take many forms, including:
- Wood shavings
- Wadded paper
- Strips of cardboard
- Commercial fire sticks or fire starters
- Dryer lint
- Wax
Kindling—the next step up in size. Usually twigs or small branches between 1/8 inch and 1/2 inch in diameter.
Firewood—the crown of an inviting campfire. Firewood can vary anywhere from 1 inch to 5 inches in diameter. It can be whole logs, or split down from larger pieces. It’s important that your firewood is completely dry in order to start easily and stay lit.
Important Note: Don’t break branches off trees for firewood. If everyone did this the forests would be compromised. Some forest management agencies permit you to pick up fallen limbs after asking.
Matches or a lighter—how else are you going to get your campfire started? Common stick matches are fine, although gas lighters used for starting BBQ grills are gaining in popularity.
Step 2: Build the Fire
The next step in how to start a campfire is building the campfire.
If your site has a fire ring, you’ll probably have to push the ash and charcoal from previous fires to the outer edge of the ring to give you enough room for the new fire. For ashes that are stone cold, consider shoveling them into a plastic trash bag for proper disposal later.
If you have to create your own fire pit, clear away any dead grass or vegetation for 8 to 10 feet around. You want bare dirt. Then dig down into the cleared soil several inches and set the loose dirt off to one side for use in case of emergency. You can mound the dirt around the sides of the pit to act as a firewall, or place large rocks around the edge of the pit to insulate the fire.
Next, at the center of the fire ring, lay a bed of tinder perhaps a foot in diameter. (Remember, tinder is a light, quick-burning material.)
- The Teepee Fire: This style is good for cooking. First, arrange your kindling in teepee fashion over your tinder. Then build a larger teepee of firewood over the kindling. When lit, the flames will rise up through the kindling and into the larger wood.
- The Lean-to Fire: This style is also recommended for cooking. Start by sticking a long piece of kindling into the ground above your tinder at about a 30-degree angle, with the other end of the stick pointing into the wind. Then lean smaller pieces of kindling against both sides of the longer piece to build a tent. As the kindling catches fire add more, followed by your firewood.
- The Cross Fire: This is ideal for a long-lasting fire. Start by laying your kindling over the tinder bed in a crisscross fashion, followed by your logs or firewood.
- The Log Cabin Fire: This style also creates a long-lasting fire. Begin by creating a kindling teepee over your tinder, then lay two logs on either side of the cone. Place two more logs on top of these to form a square. Then build up using smaller and shorter pieces of firewood until you’ve formed a cabin. Top off the cabin with some of your lightest kindling.

Step 3: Light the Fire
Now it’s time to enjoy the results of your labor. Remember to keep children and pets safely away, then light your tinder. For best results light the tinder from several sides. Don’t squirt charcoal lighter fluid into a fire; flames could travel up the stream and burn you. And NEVER use gasoline!
Once your campfire is established, feed it with additional wood as needed, taking care not to build the flames too high. Be sure to keep your fire-extinguishing tools nearby, and never leave a fire unattended, even for a moment.
Putting Out Your Fire
Just as important as learning how to start a campfire is learning to properly extinguish it. Once the evening is over, it’s your responsibility to put out your campfire, so give yourself plenty of time to do the job right. It is imperative to put the fire out completely to prevent a forest fire, which can reach devastating levels very quickly.
Proper tools and supplies needed to adequately douse a fire include a shovel, a durable stick for stirring coals and ashes, and plenty of water.
How to Extinguish a Fire:
Start by sprinkling—not pouring—water onto the flames or coals. Don’t flood the fire ring or pit as you or the next camper will want to use it later.
As you sprinkle, stir the embers with a stick or shovel to ensure that all the coals get wet. Once the steam has subsided and you no longer hear any hissing sounds you’re just about done.
Before you head off to bed or pack up to leave, place the back of your hand just above the wet ashes. Don’t touch them as they could still be hot. Don’t feel any heat? Then the fire is out. If it still feels warm add more water and stir until the fire bed is cold.
With the proper fire ring or pit, the right tinder, kindling and firewood, plus selecting the style of campfire that best meets your preferences, you and your family can safely enjoy an evening under the stars while making s’mores.

Don’t Forget: Safety First
Safety is the most important factor when learning how to start a campfire—especially if you have kids around the campsite. A 2011 study revealed that a person is injured by fire every 30 minutes, so remain alert.
Right behind personal safety are environmental safety concerns. The Earth’s climate change is leaving our forests and grasslands parched—to the point where one errant spark can set off a raging wildfire. So before starting about how to start a campfire, consider these important points:
- Are campfires allowed in the area? Look for posted signs. Or ask a ranger or camp host. Just because a campsite has a fire ring doesn’t automatically mean fires are permitted.
- Is the site properly prepared? Be sure there’s at least 8 to 10 feet of bare dirt surrounding the fire ring. Take the time to clear away any flammable debris that can catch fire. And make sure there are no tree branches overhanging the area; they can catch fire more easily than you think.
- How about weather conditions? Take heed of building clouds and rising winds. An approaching storm can easily fan the smallest campfire out of control. If there’s even the slightest doubt, wait for safer conditions.
- Do you have fire safety equipment? Always make sure there’s a shovel nearby, along with a few gallons of water. While water is preferred, a liberal application of loose dirt can keep things under control. Just be aware that coals can stay dangerously hot beneath a blanket of soil many hours after you’ve put the fire out.
Are you ready for your adventure? Plan your camping trip!